
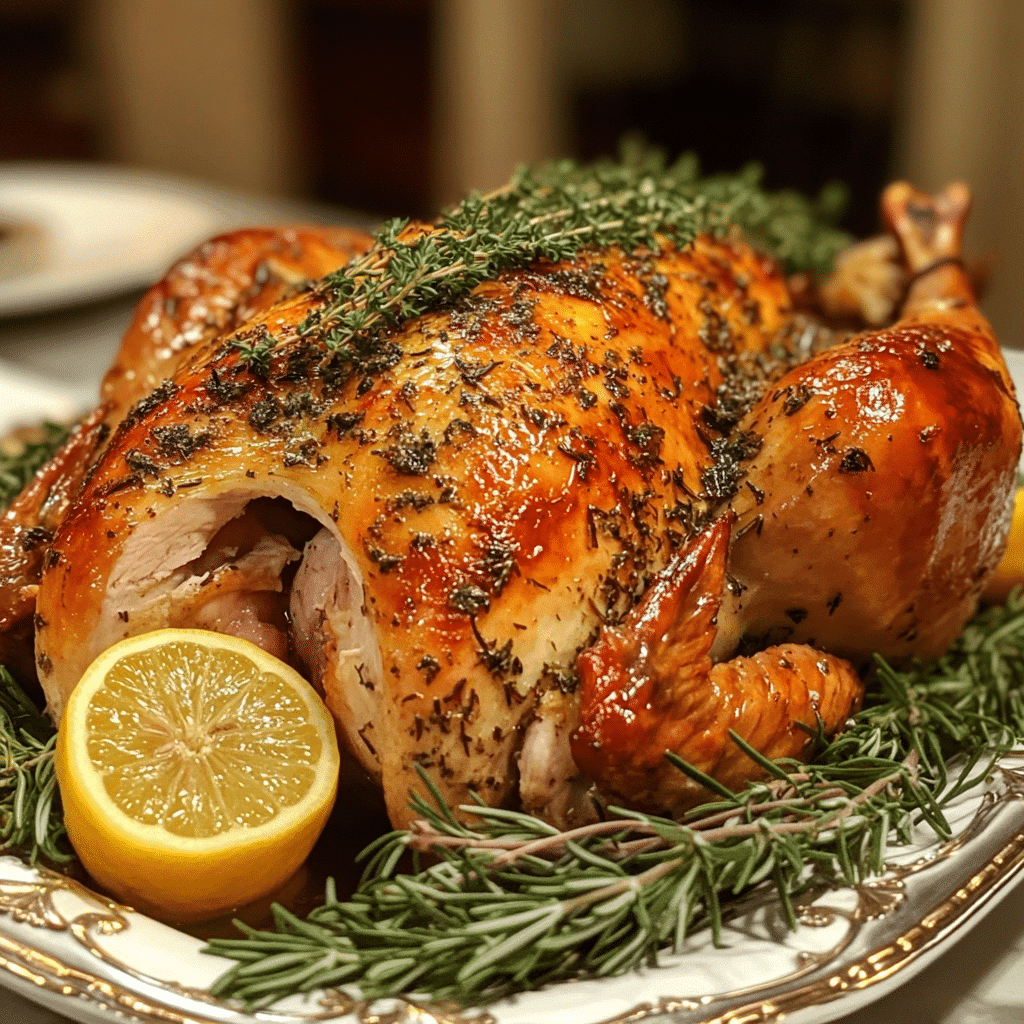
Let me tell you about the first time I made my Herb-Infused Dry Brined Turkey. It was Thanksgiving, and I was determined to impress my family with a turkey that would make them swoon. I had heard about the benefits of dry brining, but I had no idea how transformative it could be! After experimenting a few times, I finally perfected this recipe, and now I can confidently say it’s been a game-changer for our holiday feasts. I’ve made this turkey so many times that I lost count, and every single time, it has received rave reviews. Trust me, this is the turkey recipe you need in your life!
Why You’ll Love This Herb-Infused Dry Brined Turkey
- Juicy and Flavorful: The dry brining process locks in moisture and infuses the turkey with herbs, resulting in an incredibly juicy and flavorful bird.
- Easy Preparation: You can prepare this turkey a day in advance with minimal fuss, allowing you to enjoy your holiday without stress.
- Versatile Flavor: The herby flavors can be adjusted to suit your taste, making it perfect for any occasion.
- Impressive Presentation: A beautifully roasted turkey is a showstopper. Your guests will be in awe!
- Make-Ahead Convenience: This recipe allows you to brine the turkey ahead of time, giving you more time to focus on other dishes.
The Secret to Perfect Herb-Infused Dry Brined Turkey
The secret to this incredible turkey lies in the dry brining technique. Instead of soaking the turkey in a wet brine, we’re going to rub it with a mix of salt and herbs. This technique draws out moisture, which then gets reabsorbed into the meat along with all those wonderful herb flavors. It’s a simple yet powerful method that ensures every bite is packed with taste. Trust me, once you try this, you’ll never go back to wet brining! Here’s a tip: Don’t skip the rest time after brining; it’s crucial for the flavors to meld and for the skin to dry out for that perfect crispy texture.
Rave Reviews from Friends and Followers
“I never knew turkey could taste this good! The herbs were so fragrant, and the meat was so moist. I can’t wait to make this again!” – Sarah T.
“This turkey was the star of our Thanksgiving table! Everyone was asking for the recipe!” – Mark J.
“I was nervous about making turkey for the first time, but your recipe made it so easy! It turned out perfectly!” – Emily R.
Creative Variations to Try
- Garlic and Rosemary: Add minced garlic and fresh rosemary to the brine for a more robust flavor.
- Citrus Zest: Incorporate lemon or orange zest into the brine for a bright, zesty twist.
- Smoky Paprika: For a smoky flavor, mix in some smoked paprika to your herb blend.
- Spicy Herb Blend: Add a pinch of cayenne or red pepper flakes for a bit of heat.
Bonus: Don’t hesitate to experiment! The beauty of this recipe is its versatility. You can mix and match herbs and spices based on what you love or have on hand.
FAQs – All Your Questions Answered!
How long should I dry brine the turkey?
For the best results, aim for at least 24 hours, but you can go up to 48 hours for maximum flavor and moisture retention.
Can I use a frozen turkey?
Absolutely! Just make sure to fully thaw it before beginning the dry brining process.
What if I don’t have fresh herbs?
Dried herbs can also work well; just reduce the amount since dried herbs are more potent than fresh.
How do I store leftovers?
Store any leftover turkey in an airtight container in the fridge for up to 4 days. You can also freeze it for up to 3 months!
Can I use this recipe for other poultry?
Yes! This dry brining technique works wonderfully for chicken and duck as well.
Storage/Serving Tips
- After cooking, let the turkey rest for at least 30 minutes before carving to allow the juices to redistribute.
- Store leftovers in an airtight container in the fridge for up to 4 days or freeze for up to 3 months.
- Reheat gently in the oven to retain moisture, or enjoy cold in a sandwich!
Perfect Occasions for Herb-Infused Dry Brined Turkey
- Thanksgiving dinners that need a show-stopping centerpiece.
- Christmas celebrations with family and friends.
- Fall harvest parties where seasonal flavors shine.
- Special occasions like anniversaries or milestone birthdays.
- Summer barbeques for a twist on traditional grilling.
The Complete Recipe
Thank you for sticking with me! Now, let’s dive into the delicious details of making your very own Herb-Infused Dry Brined Turkey.
Herb-Infused Dry Brined Turkey
Ingredients
- 1 whole turkey (12-14 lbs)
- 1/2 cup kosher salt
- 1 tbsp black pepper
- 1 tbsp garlic powder
- 1 tbsp onion powder
- 2 tbsp fresh rosemary, chopped
- 2 tbsp fresh thyme, chopped
- 2 tbsp fresh sage, chopped
- 1 lemon, zested and halved
- Olive oil for rubbing
Tip: Make sure to use kosher salt for the brining process, as it dissolves better and doesn’t make the turkey overly salty. You can also experiment with different herbs based on your preferences, such as parsley or dill!
Step-by-Step Instructions
Step 1: Prepare the Turkey
Start by thawing your turkey completely if it’s frozen. Remove the giblets and neck from the cavity, and pat the turkey dry with paper towels. This is key for achieving that lovely golden skin.
Step 2: Make the Brine Mix
In a bowl, combine kosher salt, black pepper, garlic powder, onion powder, and all your fresh herbs. Mix them well, and feel free to add the lemon zest for that burst of citrus flavor!
Step 3: Apply the Brine
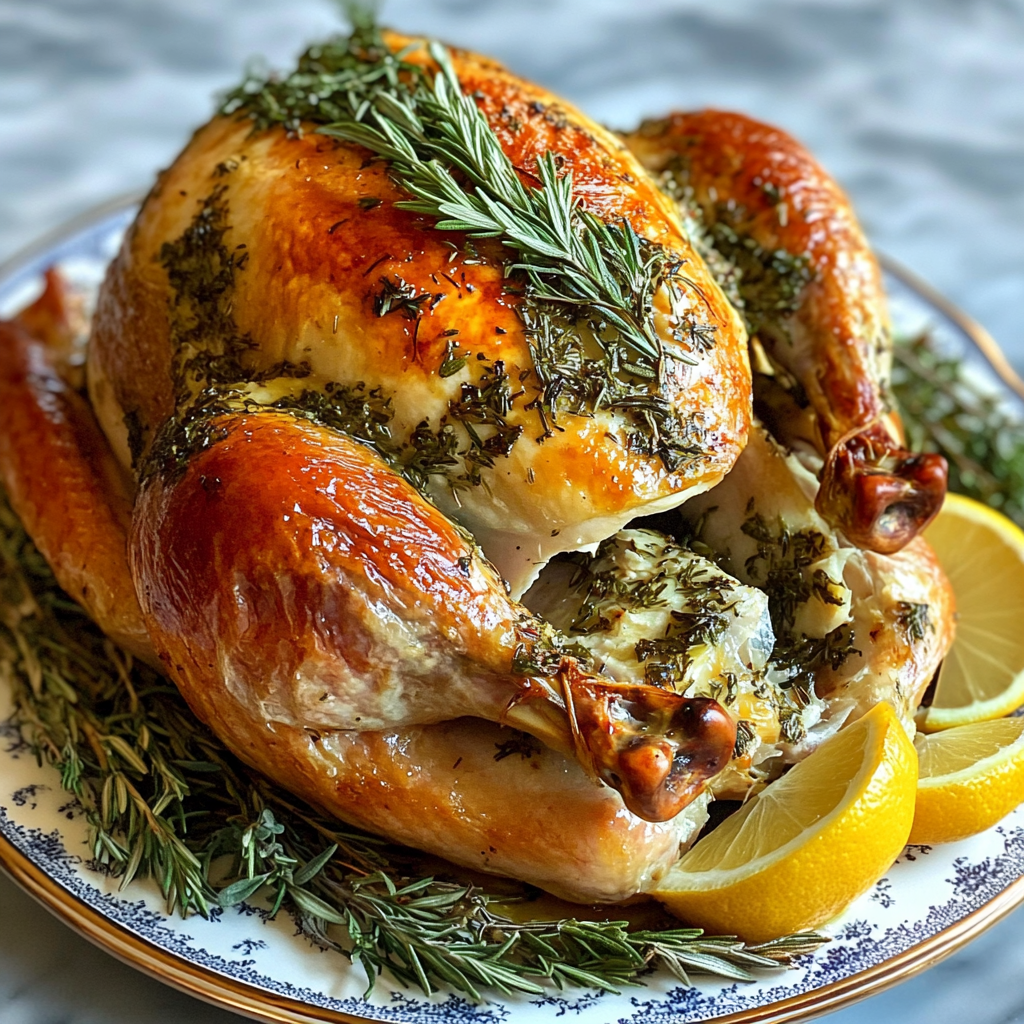
Rub the brine mix all over the turkey, including under the skin and inside the cavity. Don’t be shy; this is where all the flavor comes from! Place the lemon halves inside the cavity for extra fragrance and taste.
Step 4: Refrigerate the Turkey
Place the turkey in a large roasting pan or a brining bag, and refrigerate uncovered for at least 24 hours, up to 48 hours. This will allow the flavors to penetrate the meat and help the skin dry out for that perfect crispy finish.
Step 5: Prepare for Roasting
When you’re ready to roast, preheat your oven to 325°F (165°C). Take the turkey out of the fridge and let it come to room temperature for about 30 minutes. This helps it cook evenly.
Step 6: Roast the Turkey
Rub the turkey with olive oil, then place it in the oven. Roast until the internal temperature reaches 165°F (75°C), about 2.5 to 3 hours, depending on your turkey size. Baste every 30 minutes for that golden skin!
Step 7: Rest and Serve
Once cooked, take the turkey out and let it rest for at least 30 minutes before carving. This will ensure that all those tasty juices stay inside. Carve, serve, and watch your guests rave about how delicious it is!
Nutrition Info: Roughly 350 calories per serving (based on a 3 oz serving without skin).
Final Thoughts
There you have it! My ultimate Herb-Infused Dry Brined Turkey recipe that’s sure to become a staple in your holiday cooking. The combination of juicy meat and aromatic herbs creates a dish that will leave your guests wanting more. So,