
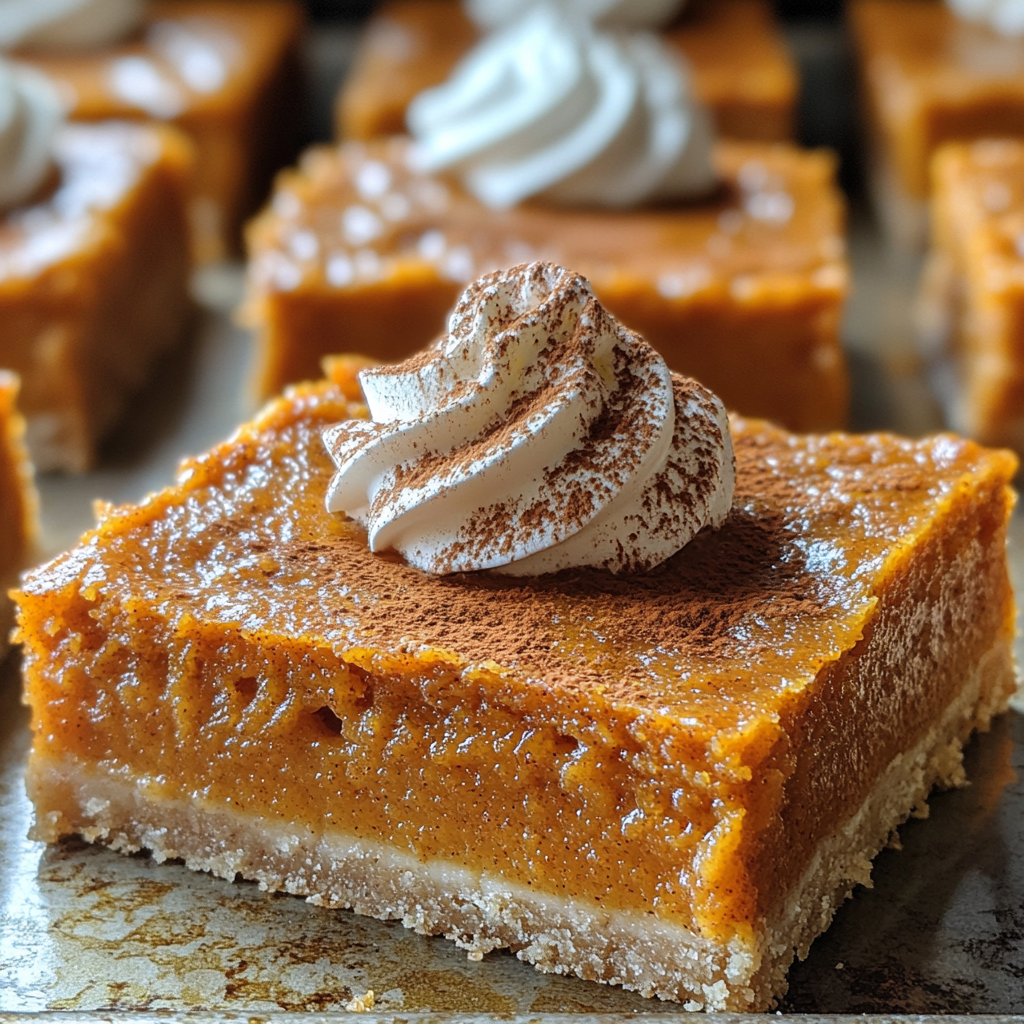
I can hardly contain my excitement as I share with you one of my all-time favorite fall recipes: Pumpkin Pie Bars! Trust me when I say these little slices of heaven have become a staple in my kitchen. I’ve made them countless times, and they never fail to impress friends and family. The rich pumpkin flavor, warm spices, and buttery crust come together in a way that makes every bite a cozy embrace. If you’re looking for a treat that embodies the essence of autumn, you’ve hit the jackpot with these Pumpkin Pie Bars!
Why You’ll Love This Pumpkin Pie Bars
- Easy to Make: These bars come together quickly, making them perfect for even the busiest fall days.
- Versatile: They’re great for any occasion, whether it’s a family gathering, a potluck, or just a cozy night in.
- Deliciously Flavored: Bursting with pumpkin and warm spices, they are the epitome of fall flavors.
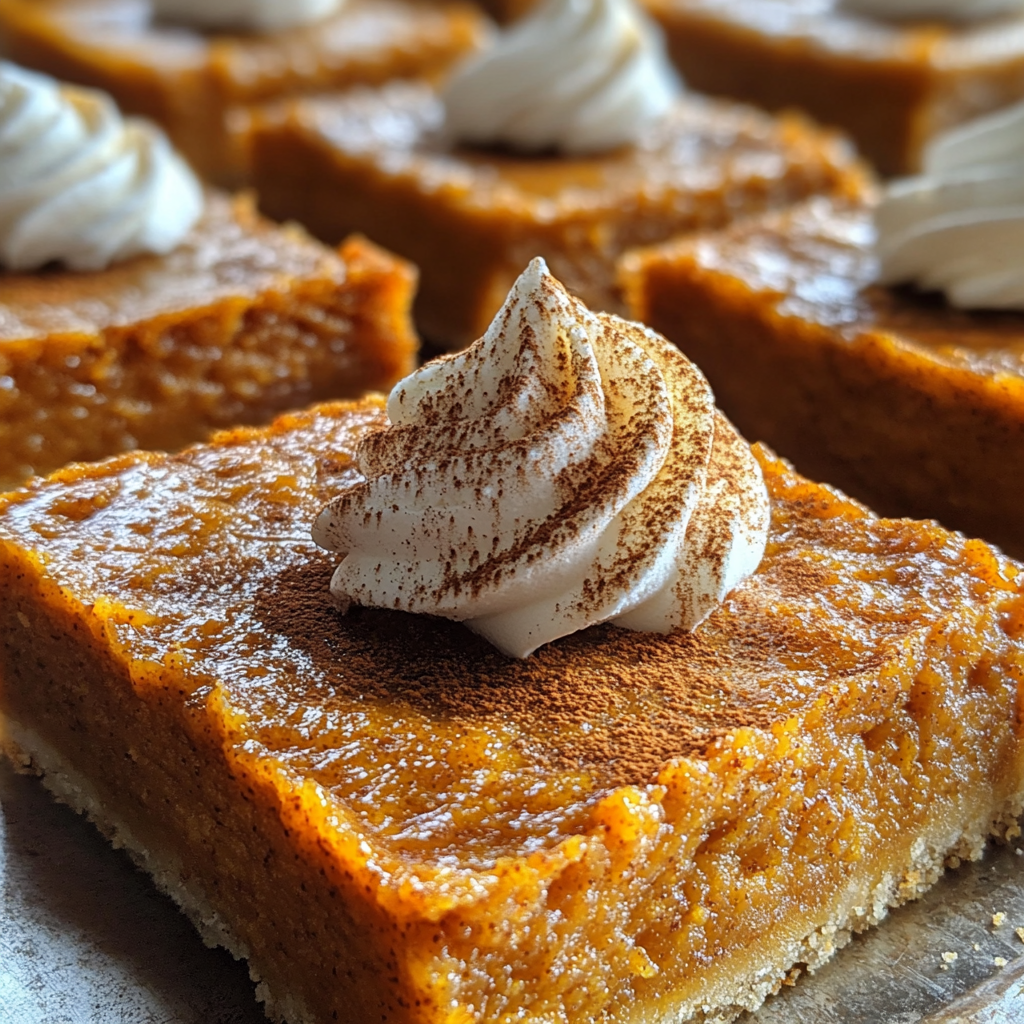
- Visually Stunning: The golden crust and rich filling make these bars a feast for the eyes.
- Make-Ahead Convenience: You can easily prepare them in advance, saving you time when hosting.
The Secret to Perfect Pumpkin Pie Bars
The secret to these irresistible Pumpkin Pie Bars lies in using high-quality ingredients, especially the pumpkin puree. I’ve experimented with various brands, and I can assure you that using a good, pure pumpkin puree elevates the flavor. Also, don’t skimp on the spices! A blend of cinnamon, nutmeg, and ginger gives these bars that classic pumpkin pie taste that everyone loves. Trust me, once you nail this, you’ll be the star of every fall gathering!
Rave Reviews from Friends and Followers
“These Pumpkin Pie Bars are a game-changer! I brought them to a friend’s dinner, and they were gone in minutes. I can’t believe how easy they were to make!” – Sarah M.
“I’ve never been a pumpkin dessert person until I tried these bars. The flavor is incredible, and they look so beautiful on my dessert table!” – Jason P.
“I made these for Thanksgiving, and everyone asked for the recipe. They are now a holiday tradition in our house!” – Emily R.
Creative Variations to Try
- Chocolate Chip Pumpkin Pie Bars: Add semi-sweet chocolate chips for a delightful twist.
- Maple Pecan Topping: Sprinkle some chopped pecans and a drizzle of maple syrup on top before baking.
- Spiced Rum Pumpkin Bars: Add a splash of spiced rum to the filling for an adult-only version.
- Vegan Pumpkin Pie Bars: Substitute eggs with flax eggs and use coconut oil instead of butter for a vegan-friendly treat.
- Gluten-Free Pumpkin Pie Bars: Substitute regular flour with almond flour or a gluten-free blend for a gluten-free option.
Bonus: Try swirling in some cream cheese for a rich cheesecake layer!
FAQs – All Your Questions Answered!
Can I make these bars ahead of time?
Yes! These bars can be made a day or two in advance. Just store them in the fridge until ready to serve.
Can I use fresh pumpkin instead of canned?
Absolutely! Just make sure to cook and puree the pumpkin until it’s smooth.
What’s the best way to cut these bars?
Use a sharp knife and wipe it clean between cuts for neat slices.
How should I store leftover bars?
Keep them in an airtight container in the fridge for up to a week.
Storage/Serving Tips
- Store leftovers in an airtight container in the fridge.
- They can last up to 5 days, but trust me, they won’t last that long!
- Serve chilled or at room temperature; both ways are delicious.
- Top with whipped cream or a scoop of vanilla ice cream for an extra indulgence.
Perfect Occasions for Pumpkin Pie Bars
- Thanksgiving dinner with family and friends.
- Fall potlucks or bake sales.
- Cozy movie nights at home.
- Seasonal gatherings and parties.
- Halloween festivities or harvest celebrations.
- Just because it’s a Tuesday and you deserve a treat!
The Complete Recipe
Thank you for joining me on this delicious journey! Now, let’s dive into the actual recipe so you can start baking your own Pumpkin Pie Bars.
Pumpkin Pie Bars
Ingredients
- 1 cup all-purpose flour
- 1/2 cup unsalted butter, melted
- 1/4 cup brown sugar
- 1/2 cup granulated sugar
- 1 cup pumpkin puree
- 2 large eggs
- 1 teaspoon vanilla extract
- 1 teaspoon ground cinnamon
- 1/2 teaspoon ground nutmeg
- 1/4 teaspoon ground ginger
- 1/2 teaspoon salt
- 1/2 teaspoon baking powder
Tip: If you want to customize the sweetness, feel free to adjust the amount of sugar to your taste. You can also add a bit of nutmeg for an extra kick!
Step-by-Step Instructions
Step 1: Preheat Your Oven
Preheat your oven to 350°F (175°C). This is crucial to ensure your bars bake evenly and come out perfectly set.
Step 2: Prepare the Crust
In a medium bowl, combine the melted butter, brown sugar, and granulated sugar. Mix until well combined. Then add the flour and salt, stirring until the mixture resembles wet sand. Press this mixture into the bottom of a greased 9×9-inch baking dish, creating an even layer. This will be the deliciously buttery crust that holds your filling.
Step 3: Make the Filling
In a large bowl, whisk together the pumpkin puree, eggs, vanilla extract, cinnamon, nutmeg, ginger, salt, and baking powder. This is where the magic happens! The warm spices and creamy pumpkin create a heavenly filling. Pour this mixture over your crust, spreading it evenly.
Step 4: Bake
Bake in your preheated oven for 25-30 minutes, or until the filling is set and a toothpick comes out clean. The smell wafting through your kitchen will be incredible, and you might just find yourself eagerly awaiting the moment they’re ready to cool.
Step 5: Cool and Serve
Once baked, let the bars cool in the pan for about 15 minutes, then transfer them to the fridge to chill completely. This will make cutting them into neat squares much easier! Once cooled, cut into squares, and serve with a dollop of whipped cream or a scoop of vanilla ice cream for that wow factor.
Nutrition info (per serving): Calories: 180, Fat: 8g, Carbs: 25g, Protein: 2g.
Final Thoughts
I hope you’re as excited to make these Pumpkin Pie Bars as I am! They truly embody the spirit of fall and are sure to become a beloved tradition in your home. With their delightful flavor and ease of preparation, you’ll want to whip these up for every gathering. Trust me, once you try them, you’ll be counting down the days until you can make them again. So roll up your sleeves, and