
Let me tell you about a game changer in my holiday kitchen: the Apple Cider Brined Turkey! This recipe has quickly become my go-to for Thanksgiving and family gatherings, and I can’t even count how many times I’ve made it. Each time, it’s met with raving reviews and empty platters. The combination of sweet apple cider and savory spices infuses the turkey with flavors that are simply out of this world. Trust me, you’re going to want to add this to your holiday meal prep!
Why You’ll Love This Apple Cider Brined Turkey
- Incredible Flavor: The apple cider brine creates a juicy, flavorful turkey that will have everyone asking for seconds.
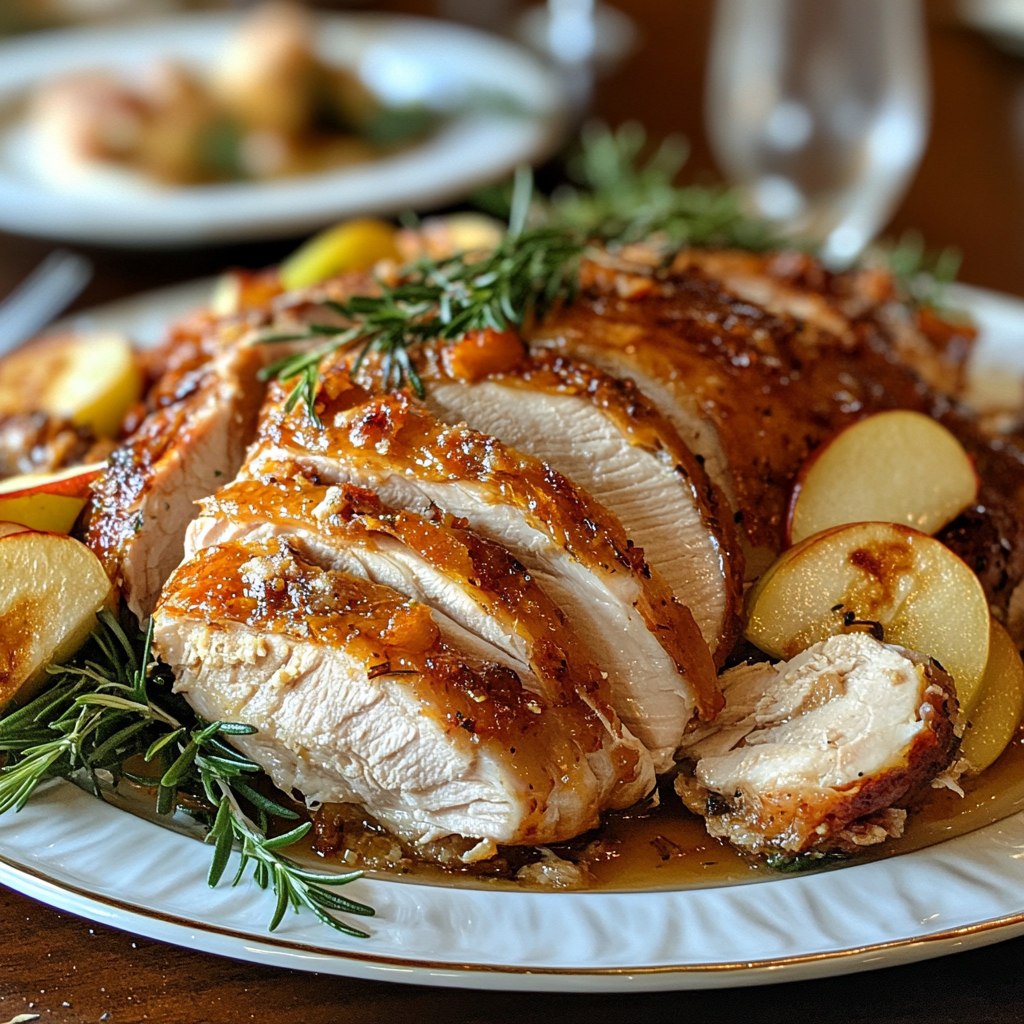
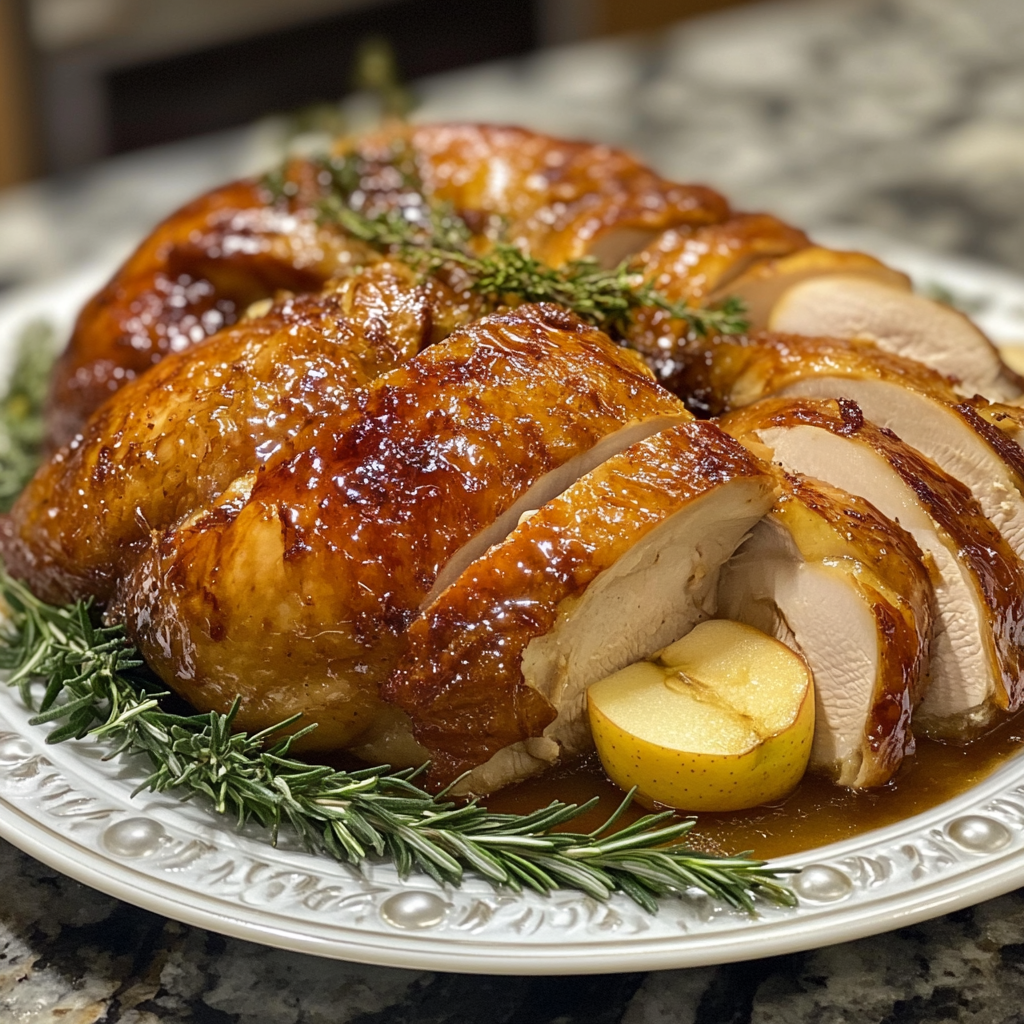
- Visually Stunning: The golden-brown skin and perfectly tender meat make for a show-stopping centerpiece.
- Easy Preparation: With simple ingredients and straightforward steps, even novice cooks can master this dish.
- Make-Ahead Convenience: Brining can be done a day in advance, making your holiday cooking a breeze.
- Versatile Pairings: This turkey pairs beautifully with a wide range of sides, from classic stuffing to roasted vegetables.
The Secret to Perfect Apple Cider Brined Turkey
The magic of this recipe lies in the brining process. Brining a turkey helps it retain moisture, ensuring that every slice is juicy and tender. The key ingredient here is apple cider, which adds a unique sweetness and depth of flavor. My insider tip? Make sure to let the turkey brine for at least 12 hours—this allows the flavors to permeate deeply. Plus, don’t skip the herbs and spices; they elevate the taste to a whole new level. I promise, once you try this, you’ll never go back to plain roasted turkey!
Rave Reviews from Friends and Followers
“This apple cider brined turkey was a hit at our Thanksgiving dinner! Everyone raved about how juicy and flavorful it was. I’ll definitely be making this again!” — Sarah L.
“I was nervous about brining my turkey for the first time, but this recipe made it so easy! It turned out beautifully and tasted amazing!” — Mike D.
“I can’t believe how much my family loved this turkey! It was the star of the show. Thanks for sharing such a fantastic recipe!” — Jessica R.
Creative Variations to Try
- Maple Syrup Infusion: Add a splash of maple syrup to your brine for a sweet twist.
- Citrus Zest: Incorporate orange and lemon zest into the brine for a refreshing zing.
- Herb-Infused Brine: Experiment with fresh herbs like rosemary and thyme to enhance the flavor.
- Spicy Kick: Add a touch of cayenne pepper or crushed red pepper flakes for a bit of heat.
- Bonus Tip: For an extra touch, try stuffing the turkey with apples, onions, and herbs before roasting for added flavor and aroma.
FAQs – All Your Questions Answered!
- Can I use other types of meat for brining? Absolutely! This brine works well with chicken and pork, too.
- How long can I store leftover turkey? Leftover turkey can be stored in the refrigerator for up to 4 days.
- What if I don’t have apple cider? You can substitute with apple juice, though the flavor may be slightly different.
- Can I brine the turkey for longer than 12 hours? Yes, brining for up to 24 hours can intensify the flavor, but be careful not to over-brine, as it can make the meat too salty.
Storage/Serving Tips
- Store any leftover turkey in an airtight container.
- Refrigerate within two hours of cooking for optimal freshness.
- Leftover turkey can be used in sandwiches, salads, or soups for delicious meals.
- Serve slices with a drizzle of gravy or alongside cranberry sauce for a festive touch.
Perfect Occasions for Apple Cider Brined Turkey
- Thanksgiving Dinner
- Christmas Feast
- Family Reunions
- Harvest Festivals
- Special Birthdays or Anniversaries
- Game Day Gatherings
- Any occasion where you want to impress your guests!
The Complete Recipe
Thank you for sticking with me! Now, let’s dive into the delicious details of making your very own Apple Cider Brined Turkey!
Apple Cider Brined Turkey
Ingredients
- 1 whole turkey (12-14 pounds)
- 1 gallon apple cider
- 1 cup kosher salt
- 1 cup brown sugar
- 2 tablespoons black peppercorns
- 1 tablespoon whole cloves
- 1 tablespoon allspice berries
- 4-5 sprigs fresh thyme
- 4-5 sprigs fresh rosemary
- Water (to cover turkey)
Tip: Make sure to use a high-quality apple cider for the best flavor. Organic brands often provide a richer taste.
Step-by-Step Instructions
Step 1: Prepare the Brine
In a large pot, combine the apple cider, kosher salt, brown sugar, peppercorns, cloves, and allspice. Bring to a gentle simmer over medium heat, stirring until the salt and sugar dissolve completely. This step is crucial as it infuses the brine with amazing flavors that will penetrate the turkey.
Step 2: Cool the Brine
Once the brine is dissolved, remove it from heat and allow it to cool completely. You can speed this up by adding ice to the mixture, but ensure it’s fully chilled before adding the turkey. This helps to keep the turkey at a safe temperature during the brining process.
Step 3: Brine the Turkey
Place the turkey in a large, food-safe container or brining bag. Pour the cooled brine over the turkey, adding enough water to ensure the bird is completely submerged. Seal the container or bag and refrigerate for at least 12 hours, preferably 24. This is where the magic happens – the longer it sits, the more flavorful it becomes!
Step 4: Rinse and Dry
After brining, remove the turkey and rinse it under cold water to remove excess salt. Pat it dry with paper towels. This step is important to ensure your turkey doesn’t turn out too salty and to achieve that beautiful crispy skin when roasted.
Step 5: Roast the Turkey
Preheat your oven to 325°F (165°C). Place the turkey on a roasting rack in a roasting pan. If desired, you can stuff the cavity with apples, onions, and herbs for extra flavor. Roast the turkey for about 13-15 minutes per pound, or until the internal temperature reaches 165°F (75°C) in the thickest part of the breast. Basting occasionally helps to keep it juicy and golden brown.
Step 6: Rest and Serve
Once your turkey is cooked, let it rest for at least 20-30 minutes before carving. This allows the juices to redistribute, ensuring each slice is as juicy as possible. Carve it up and serve with your favorite sides for a holiday feast that your guests will remember!
Nutrition Info: This recipe serves approximately 10-12 people, with each serving containing around 400 calories, depending on portion size and sides.
Final Thoughts
I