
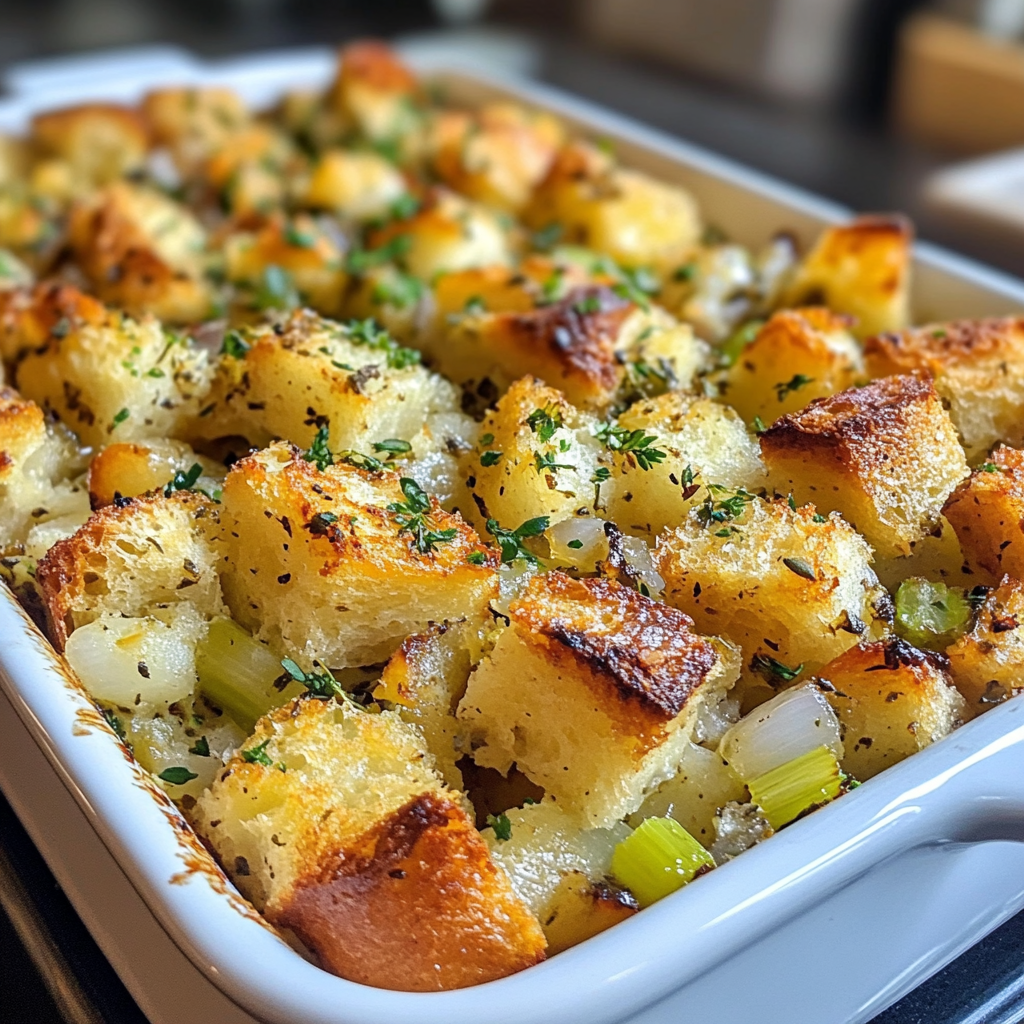
I can hardly contain my excitement as I share with you my absolute favorite holiday side dish: Classic Herb Stuffing with Sage! Trust me, I’ve made this recipe countless times, and each time it gets rave reviews from family and friends. The aroma of fresh sage wafting through the kitchen is enough to make anyone’s mouth water. This stuffing has become a staple at my holiday feasts, and I can’t wait for you to experience the savory goodness that everyone loves!
Why You’ll Love This Classic Herb Stuffing with Sage
- Effortless Preparation: This recipe is simple and straightforward, making it perfect for busy holiday cooks.
- Versatile Serving: It pairs beautifully with turkey, ham, or even as a standalone dish for vegetarian guests.
- Flavor Explosion: The combination of herbs, especially sage, creates a deliciously aromatic stuffing that’s bursting with flavor.
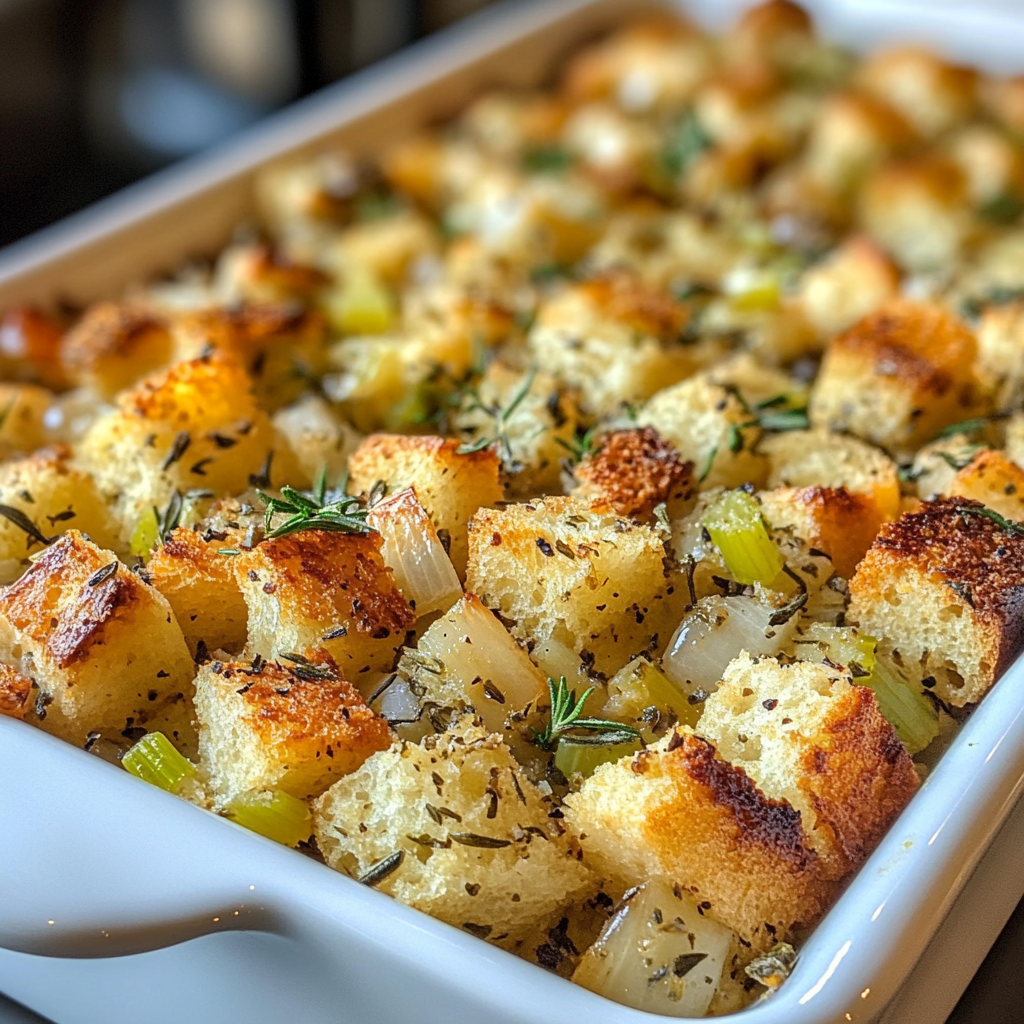
- Visual Appeal: The golden-brown color and fresh herbs make this stuffing a stunning addition to your table.
- Make-Ahead Convenience: You can prepare it in advance, allowing you to enjoy your holiday gatherings stress-free.
The Secret to Perfect Classic Herb Stuffing with Sage
The secret to a truly fantastic Classic Herb Stuffing with Sage lies in the quality and freshness of your ingredients, particularly the sage. I always recommend using fresh sage if you can find it; it elevates the dish in a way that dried herbs simply can’t match. Don’t be afraid to be generous with your seasoning—this is your chance to infuse flavor into every bite! Also, toast your bread cubes before mixing; this adds a delightful crunch and prevents the stuffing from becoming too soggy.
Trust me, following these tips will ensure your stuffing is a game-changer for your holiday meals. You might even be asked for the recipe!
Rave Reviews from Friends and Followers
“This stuffing is a must-have at every Thanksgiving! The flavor is incredible, and my guests always ask for seconds.” – Sarah J.
“I never thought I could make stuffing this good at home. It turned out perfectly! Thank you for sharing!” – Mike R.
“I added my own twist to this recipe, and it was a hit! Everyone was asking for the secret ingredient!” – Jessica T.
Creative Variations to Try
- Apple and Walnut: Add diced apples and chopped walnuts for a sweet and crunchy twist.
- Cranberry Delight: Stir in dried cranberries for a burst of sweetness and color.
- Italian Style: Incorporate Italian sausage and Parmesan cheese for a hearty version.
- Mushroom Magic: Sauté mushrooms to add an earthy flavor that complements the sage beautifully.
Bonus: Consider adding a splash of vegetable or chicken broth instead of water to enhance the flavor even more!
FAQs – All Your Questions Answered!
Can I make this stuffing ahead of time?
Absolutely! You can prepare it a day in advance, just cover it tightly and refrigerate. Bake it fresh before serving!
What type of bread is best for stuffing?
I recommend using a hearty bread like sourdough or French bread, as they hold up well to moisture.
Can I freeze leftover stuffing?
Yes, you can freeze stuffing! Just make sure it cools completely before transferring it to an airtight container.
How long does it take to bake?
Typically, it takes about 30-40 minutes at 350°F, but keep an eye on it for that perfect golden-brown top!
What can I substitute for sage?
If you can’t find sage, try using thyme or rosemary for a different yet delicious flavor profile.
Storage/Serving Tips
- Store leftovers in an airtight container in the fridge for up to 3-4 days.
- For longer storage, freeze it for up to 2 months.
- Reheat in the oven for the best texture—microwaving can make it soggy.
- Serve with gravy or cranberry sauce on the side for added delight.
Perfect Occasions for Classic Herb Stuffing with Sage
- Thanksgiving Dinner
- Christmas Feasts
- New Year’s Celebrations
- Family Gatherings
- Potluck Parties
- Sunday Dinners
- Any occasion that calls for comfort food!
The Complete Recipe
Thank you for joining me on this delicious journey! Now, let’s dive into the recipe so you can make this Classic Herb Stuffing with Sage and wow your guests.
Classic Herb Stuffing with Sage
Ingredients
- 1 loaf of day-old bread (about 12 cups, cubed)
- 1/2 cup unsalted butter
- 1 onion, chopped
- 2-3 celery stalks, chopped
- 2-3 cloves of garlic, minced
- 1/4 cup fresh sage, chopped (or 2 tablespoons dried sage)
- 1 teaspoon thyme
- 1/2 teaspoon salt
- 1/2 teaspoon black pepper
- 2-3 cups chicken or vegetable broth
- 2 large eggs, beaten (optional for binding)
Tip: Make sure to use bread that’s a day or two old for the best texture. Fresh bread can get too mushy!
Extend ingredients section: You can add optional ingredients like diced apples for sweetness or crumbled sausage for heartiness. Each ingredient contributes to the overall flavor and texture, making it a customizable dish.
Step-by-Step Instructions
Step 1: Preheat the Oven
Preheat your oven to 350°F (175°C). This ensures your stuffing bakes evenly and gets that perfect golden crust.
Step 2: Toast the Bread
Spread your bread cubes on a baking sheet and toast them in the oven for about 10-15 minutes until golden. This step is crucial for keeping the stuffing from getting soggy, and it enhances the flavor!
Step 3: Sauté the Vegetables
In a large skillet, melt the butter over medium heat. Add the onions and celery, cooking until they are soft and fragrant, about 5-7 minutes. Toss in the garlic and cook for another minute. The aroma will be heavenly!
Step 4: Combine Ingredients
In a large bowl, mix the toasted bread cubes, sautéed vegetables, sage, thyme, salt, and pepper. Mix well—this is where the magic happens as the flavors meld together.
Step 5: Add the Broth
Gradually pour in the broth, mixing until the bread is moistened but not mushy. If you’re using eggs, add them now and mix well to bind the stuffing. The moisture level is key here—too dry and it won’t hold together, too wet and it’ll be mushy.
Step 6: Bake
Transfer the mixture to a greased baking dish, cover it with foil, and bake for 30 minutes. Uncover and bake for an additional 10-15 minutes until the top is nice and crispy. The bubbling edges and golden top will have everyone drooling!
Step 7: Serve and Enjoy!
Let the stuffing cool slightly