
Hey there, snack lovers! I’m so excited to share with you my ultimate go-to recipe: the Loaded Nachos Sheet Pan! Trust me, I’ve made this dish countless times, and it never fails to impress everyone at my gatherings. Whether it’s game day or just a cozy movie night, these nachos have become a staple in my home. The combination of crispy tortilla chips, melty cheese, and zesty toppings is simply irresistible. So, let’s dive right into this delicious journey together!
Why You’ll Love This Loaded Nachos Sheet Pan
- Easy to Make: This recipe requires minimal prep and clean-up, making it perfect for any skill level.
- Versatile: You can customize the toppings to fit any taste preference or dietary restriction.
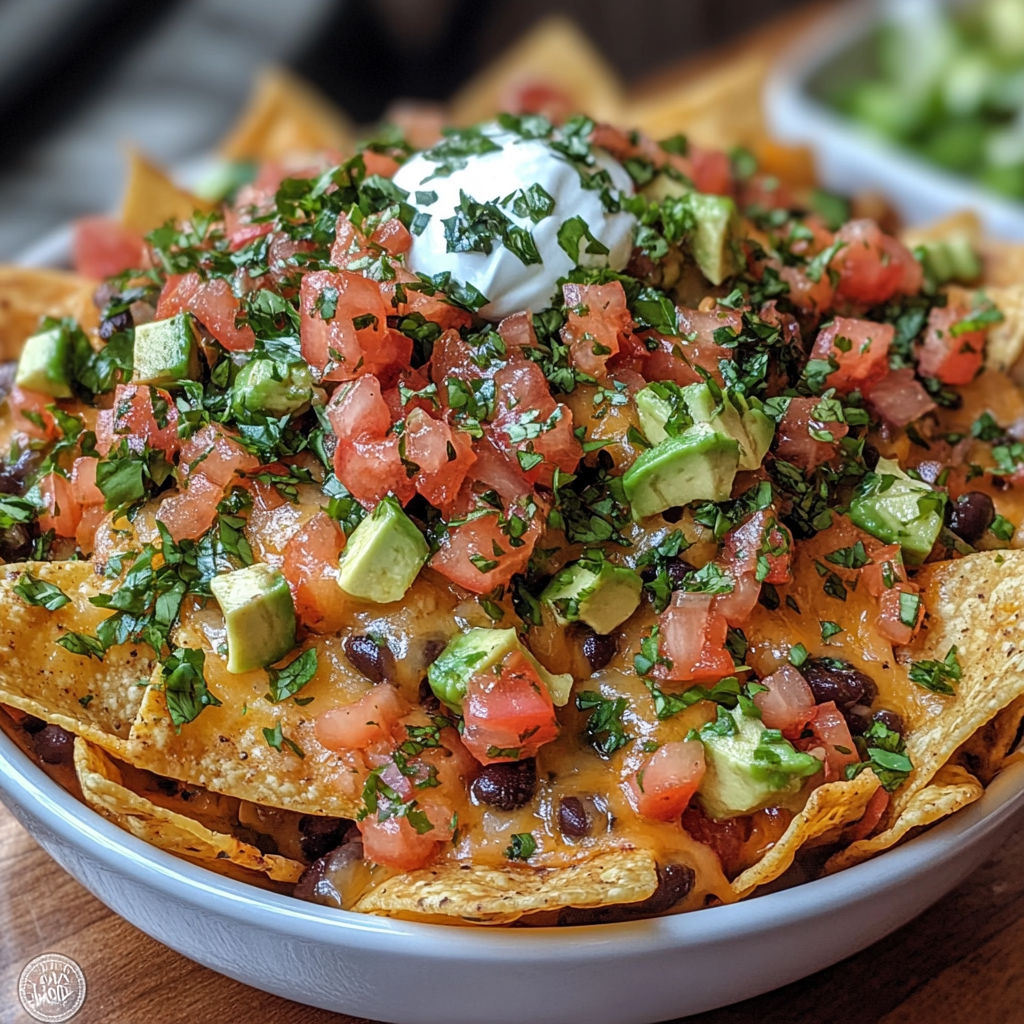
- Visually Stunning: The vibrant colors of the toppings create a feast for the eyes as well as the stomach.
- Perfect for Sharing: It’s a crowd-pleaser that brings people together around the table.
- Make-Ahead Convenience: You can prep the ingredients in advance and assemble them right before serving.
The Secret to Perfect Loaded Nachos Sheet Pan
The secret to achieving the most mouthwatering Loaded Nachos Sheet Pan lies in the balance of ingredients and the layering technique. I’ve learned that starting with a solid base of crispy tortilla chips is essential. But here’s the insider tip: layer your toppings thoughtfully! Begin with cheese, add some protein, and then top with fresh veggies. This ensures every bite is bursting with flavor. Trust me, if you follow this method, you’ll be amazed at how perfectly melted the cheese is and how fresh the toppings remain!
Rave Reviews from Friends and Followers
“These nachos were a hit at our game night! Everyone was raving about the flavor combinations. I’ll definitely be making them again!” – Sarah J.
“I’m not usually a nacho fan, but this Loaded Nachos Sheet Pan changed my mind! The fresh toppings made all the difference!” – Mike T.
“I can’t believe how easy this was to make! It was the perfect snack for our movie marathon. Thank you for sharing this gem!” – Lisa K.
Creative Variations to Try
- BBQ Chicken Loaded Nachos: Swap out the traditional toppings for shredded BBQ chicken and drizzle with ranch dressing.
- Vegetarian Delight: Load up on black beans, corn, and a medley of colorful bell peppers for a veggie-packed option.
- Spicy Jalapeño Nachos: Add sliced jalapeños for a kick, and serve with a side of creamy avocado dip.
- Tex-Mex Fiesta: Incorporate chorizo and a dollop of guacamole on top for a flavorful twist.
Bonus: Don’t be afraid to mix and match! Use whatever toppings you have on hand for a unique creation every time.
FAQs – All Your Questions Answered!
Can I make this recipe ahead of time? Yes! You can prepare the toppings in advance and store them in the fridge. Just assemble and bake when you’re ready to serve.
How do I store leftovers? Store any leftovers in an airtight container in the fridge for up to 3 days. Reheat in the oven for best results.
What can I substitute for tortilla chips? You can use pita chips or even crispy baked vegetables for a healthier option.
Can I make this gluten-free? Absolutely! Just ensure you use gluten-free tortilla chips and check your toppings for gluten content.
Storage/Serving Tips
- Store leftovers in an airtight container in the fridge for up to 3 days.
- Reheat in the oven at 350°F for about 10 minutes for the best texture.
- Serve with a variety of dips, like salsa, guacamole, or sour cream, to elevate your snack experience.
Perfect Occasions for Loaded Nachos Sheet Pan
- Game Day Celebrations
- Movie Marathons with Friends
- Birthday Parties
- Casual Family Dinners
- Potluck Gatherings
- Weekend Brunch
- Just Because You Feel Like It!
The Complete Recipe
Thanks for sticking with me so far! Now, let’s get to the delicious part: the recipe itself!
Loaded Nachos Sheet Pan
Ingredients
- 1 bag of tortilla chips (about 12 oz)
- 2 cups shredded cheese (cheddar, Monterey Jack, or a mix)
- 1 can of black beans, drained and rinsed
- 1 cup diced tomatoes
- 1/2 cup sliced jalapeños (fresh or pickled)
- 1 avocado, diced
- 1/4 cup chopped green onions
- 1/4 cup sour cream (for serving)
- Fresh cilantro (for garnish)
Tip: Feel free to customize your cheese blend for a unique flavor profile! Adding pepper jack cheese can give it an extra kick.
Extend ingredients section: Consider adding cooked ground beef or shredded chicken for added protein. If you’re looking for a vegetarian option, just load up on more veggies!
Step-by-Step Instructions
Step 1: Preheat Your Oven
Preheat your oven to 350°F (175°C). This is crucial for getting that perfect melt on the cheese!
Step 2: Prepare Your Sheet Pan
Line a large baking sheet with parchment paper for easy clean-up. Spread the tortilla chips evenly across the pan, making sure they don’t overlap too much. This allows for even baking and ensures every chip gets loaded with toppings.
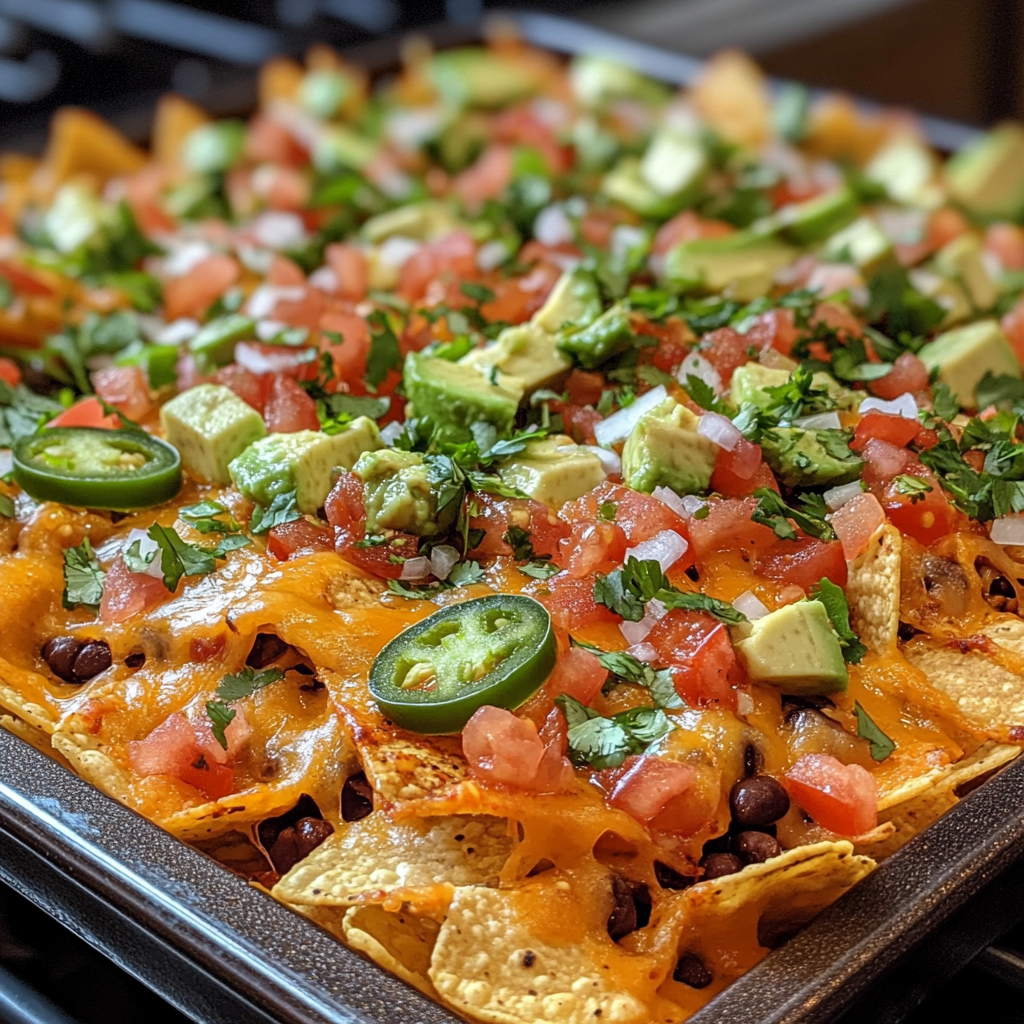
Step 3: Layer Your Toppings
Start with a generous sprinkle of cheese over the chips. Then add black beans, diced tomatoes, and jalapeños. You want to make sure each chip gets some love!
Step 4: Bake to Perfection
Place the sheet pan in the preheated oven and bake for about 10-15 minutes, or until the cheese is bubbling and slightly golden. Keep an eye on it to prevent burning!
Step 5: Add Fresh Toppings
Remove the nachos from the oven and immediately add the diced avocado and green onions. Garnish with fresh cilantro for that pop of color and freshness!
Step 6: Serve and Enjoy!
Serve the nachos hot with sour cream on the side. Dive in and enjoy the ooey-gooey goodness!
Nutrition Info: Per serving: 350 calories, 20g fat, 30g carbs, 10g protein. This is a fun snack, so indulge in moderation!
Extend instructions: If you want to impress, consider drizzling some homemade chipotle sauce over the top before serving for an extra layer of flavor!
Final Thoughts
I truly hope you get the chance to whip up this Loaded Nachos Sheet Pan recipe. It’s a game-changer for any occasion, and I can guarantee it will become a beloved favorite in your home, just like it is in mine. So gather your friends, get the toppings ready, and let the good times roll! You won’t regret it!